
Supply House 88-106 Start Capacitor 220V for Chattanooga AC
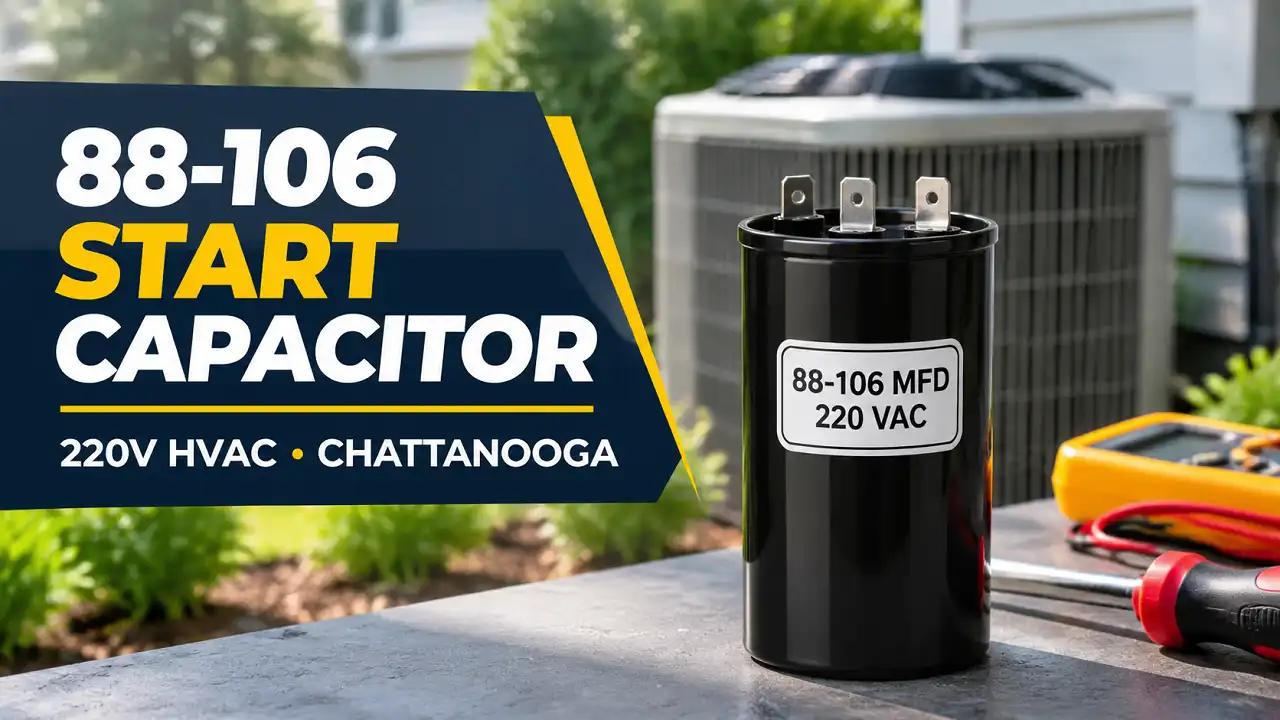
A compressor that hums, clicks and then shuts off usually is not dead. In many cases, the motor simply cannot get its first turn. That first turn depends on a start capacitor. A supply house 88-106 start capacitor 220v is one of the most common parts used for that job. You will find it on hard-start kits, well pumps, air compressors and older single-phase HVAC compressors.
The practical takeaway is simple. A $15 to $40 part can decide whether your AC restarts or your compressor overheats on every attempt. On recent service calls across Chattanooga, we see this failure most often in late July. That is when humid 90-degree afternoons push condensers through dozens of start cycles a day.
Start Capacitor Quick Facts
- Match the MFD range exactly (88-106 µF). You can go higher on voltage, such as 330V in place of 220V. Do not go higher or lower on capacitance.
- A start capacitor is only one part of a starting circuit. It needs a potential relay, centrifugal switch or timer to remove it after startup, or it will overheat and fail within seconds.
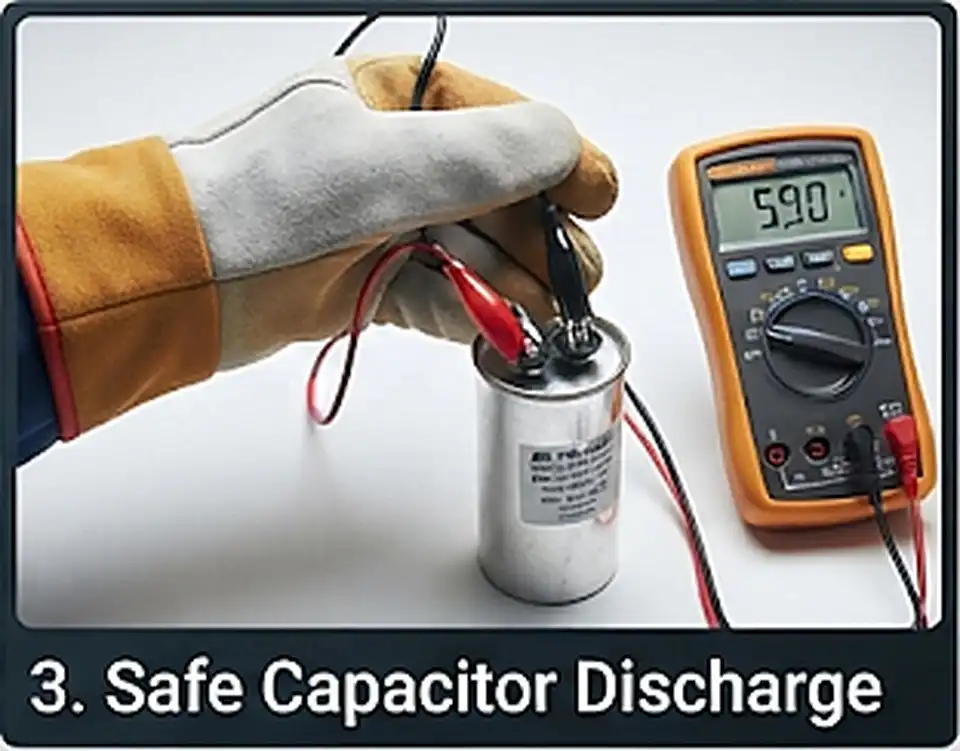
- Discharge before you touch it. Even with the breaker off, a charged capacitor can deliver a painful shock. Use a 15,000-ohm, 2-watt bleed resistor or an insulated discharge tool.
What an 88-106 MFD 220V Start Capacitor Is and How It Works
An 88-106 MFD 220V start capacitor gives a single-phase motor a short, strong push at startup. The capacitor stores energy. It releases that energy into the motor’s start winding (a secondary coil that creates rotating force). This produces high starting torque for one to three seconds. Then a relay or switch disconnects it.
Here is what each part of the rating means:
| Rating | What It Means | Why It Matters |
|---|---|---|
| 88-106 MFD (µF) | Capacitance range, in microfarads | The part must test inside this range to be healthy |
| 220V (or 220-250 VAC) | Maximum working voltage | Must meet or exceed your circuit voltage |
| 50/60 Hz | AC frequency it is built for | U.S. homes run at 60 Hz |
| Round, phenolic or plastic case | Body style | Affects mounting space, not performance |
| 1/4″ quick-connect terminals | Spade connections on top | Must match your wire ends |
MFD stands for microfarad. The range (88 to 106) reflects the manufacturing tolerance for an electrolytic start capacitor. A meter reading of 92 µF is a pass; a reading of 70 µF is a failure.
Where You Find This Capacitor in a Home
Our certified electricians frequently see this part in local properties in four places:
- Hard-start kits on aging AC and heat pump compressors
- Well pump control boxes on rural lots in Apison, Dunlap and Ringgold
- Air compressors in garages and workshops
- Single-phase shop motors on table saws and lathes
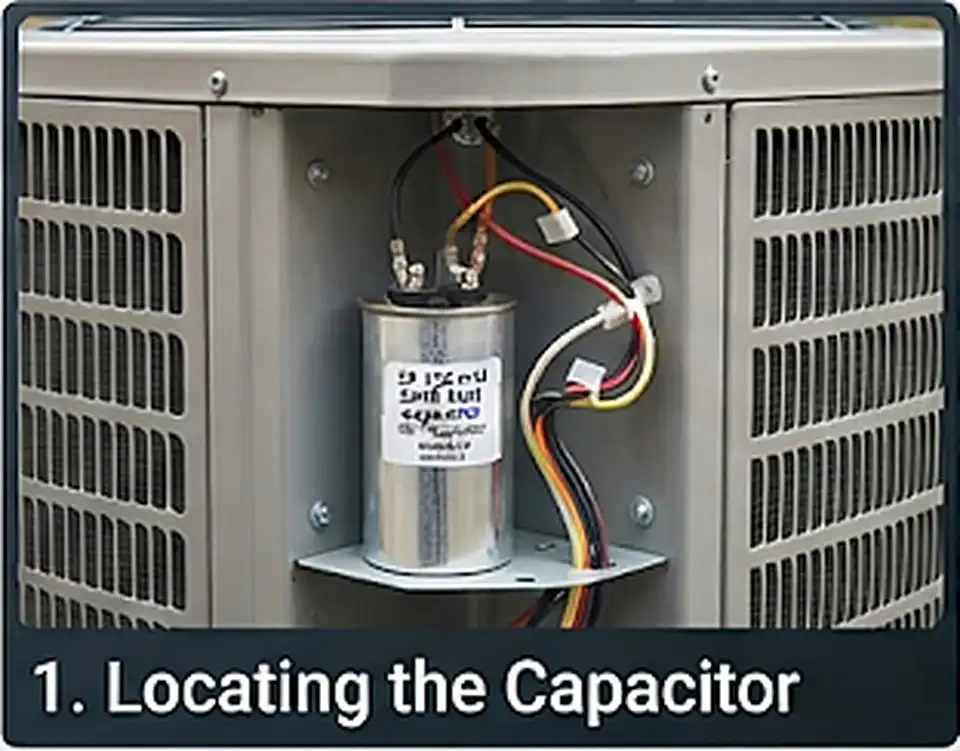
If you’ve spent a summer in Chattanooga, this electrical setup makes complete sense. Heat and humidity raise head pressure in the condenser. Higher pressure makes the compressor harder to start, and a start capacitor provides the extra push. Your next step is to find the label on your existing capacitor and write down the MFD and voltage before you shop.
Specs Comparison: Copeland, TEMCo and Generic Equivalents
Supply house 88-106 start capacitor 220v options differ in voltage rating, warranty and price. The capacitance range does not change. The table below compares the models homeowners and techs ask us about most.
| Spec | Emerson/Copeland 914-0008-61 | TEMCo SC0062 (CD60) | TEMCo CD60, 330V | Rheem 43-17075-04 | Generic CD60 |
|---|---|---|---|---|---|
| MFD range | 88-106 | 88-106 | 88-106 | 88-106 | 88-106 |
| Voltage | 220 VAC | 220-250 VAC | 330 VAC | 330 VAC | 220-250 VAC typical |
| Frequency | 50/60 Hz | 50/60 Hz | 50/60 Hz | 50/60 Hz | 50/60 Hz |
| Shape | Round | Round | Round | Round | Round |
| Terminals | Quick-connect | 1/4″ quick-disconnect | 1/4″ quick-disconnect | Quick-connect | 1/4″ quick-disconnect |
| Size (listed) | Package 7.25 x 3.75 x 3.5 in. | 1.44 in. dia. x 3.37 in. tall | Similar to SC0062 | Check listing | Varies by brand |
| Operating temp | Not listed | -40°F to +149°F | Similar | Check listing | Varies |
| Listing / warranty | Country of origin: USA | UL file E492933; 5-year warranty | Check listing | OEM replacement | Often unlisted |
| Typical price | Account pricing (trade login) | About $15.32 online | About $15.87 online | Check current price | $8 to $25 |
| Where sold | Baker Distributing | Walmart marketplace | Walmart marketplace | SupplyHouse.com | Online marketplaces |
Batch Controller for Flow Meter Low Cost 220V: Stop Waste
What the Table Tells You
Capacitance must match. Voltage can go up. A 330V capacitor works in a 220V circuit because it is built to handle more stress than the circuit delivers. A 125V capacitor in a 220V circuit will fail, sometimes by venting or bursting.
Copeland built its part to pair with the Copeland 940-0001-54 potential relay. Baker Distributing lists those two parts as frequently bought together. That pairing is a useful clue: if your relay is original Copeland equipment, the matching capacitor keeps the starting circuit within factory design. Compare the label on your old capacitor against this table before ordering.
Start Capacitor vs. Run Capacitor: The Difference That Trips People Up
A start capacitor and a run capacitor do different jobs. Mixing them up is the most common mistake we see on DIY repairs. A start capacitor works for seconds. A run capacitor stays in the circuit the whole time the motor runs.
| Feature | Start Capacitor (88-106 MFD) | Run Capacitor (e.g., 35/5 MFD) |
|---|---|---|
| Duty | Intermittent, a few seconds per start | Continuous, entire run cycle |
| Construction | Electrolytic, oil-filled | Metallized film (polypropylene) |
| Typical MFD | High (70 to 800+) | Low (2.5 to 80) |
| Typical voltage | 110-125V, 220-250V, 330V | 370V or 440V |
| Case | Black phenolic or plastic | Metal can (round or oval) |
| Disconnect device | Relay, centrifugal switch or timer | None, always connected |
| Bleed resistor | Often required | Not usually |
| Lifespan | 5 to 10 years, shorter with hard starts | 5 to 15 years |
| Failure mode | Opens, swells or vents | Loses MFD; top bulges |
Here is the key distinction: never use a start capacitor as a run capacitor. An electrolytic part left in a circuit for minutes overheats fast. The reverse is also wrong. A film run capacitor cannot deliver the high MFD a start winding needs.
Pros and Cons of Adding a Start Capacitor (Hard-Start Kit)
Pros
- Higher starting torque for compressors that struggle in summer heat
- Shorter locked-rotor time, which lowers winding heat
- Less light dimming at startup
- Extends life of an aging compressor by a season or more
Cons
- Masks a deeper problem such as a failing compressor or low voltage
- Adds a relay that can also fail
- Wrong sizing can damage the start winding
- Not a fix for a compressor with shorted or grounded windings
If your AC needed a hard-start kit after a voltage problem, have someone confirm the supply side too. Our electrical troubleshooting service checks voltage at the disconnect during startup, which is where weak circuits show up. Write down your run capacitor rating too, since many start problems turn out to be a failed run capacitor.
88-106 Start Capacitor 220V Wiring Diagram Guidance
An 88-106 start capacitor 220v wiring diagram follows a standard CSR layout (capacitor-start, capacitor-run). The start capacitor sits in series with the relay contacts. The relay pulls the capacitor out of the circuit once the motor reaches speed. Always follow the diagram printed inside your unit’s access panel first.
Lights Flicker When Appliance Turns On: What It Means
Standard Potential Relay Wiring (Compressor Hard-Start)
| Connection | From | To | Purpose |
|---|---|---|---|
| Relay terminal 5 | Relay | Compressor Common (C) / line side | Coil reference |
| Relay terminal 2 | Relay | Compressor Start (S) / run cap HERM side | Senses back-EMF on start winding |
| Relay terminal 1 | Relay | Start capacitor, terminal A | Contacts close this path at startup |
| Start capacitor, terminal B | Capacitor | Run capacitor terminal tied to Run (R) / line | Completes start circuit |
| Bleed resistor | Across both start cap terminals | N/A | Drains stored charge between starts |
How the circuit works, step by step:
- Apply power. Relay contacts 1 and 2 are normally closed.
- Energize the start circuit. Current flows through the start capacitor into the start winding.
- Build speed. The motor reaches about 75 to 80 percent of running speed in under a second or two.
- Open the contacts. Voltage on the start winding rises and pulls the relay coil (2-5) in.
- Drop the capacitor out. Contacts 1-2 open, and the run capacitor carries the motor from there.
Wiring Mistakes We Find on Service Calls
- Capacitor wired without a relay. It stays in the circuit and fails within minutes.
- Wrong relay pickup voltage. The capacitor stays in too long or drops out too early.
- No bleed resistor. Stored charge arcs the relay contacts on the next start.
- Loose spade terminals. Heat discolors the connector and adds resistance.
- Wires crossed on terminals 2 and 5. The relay never opens.
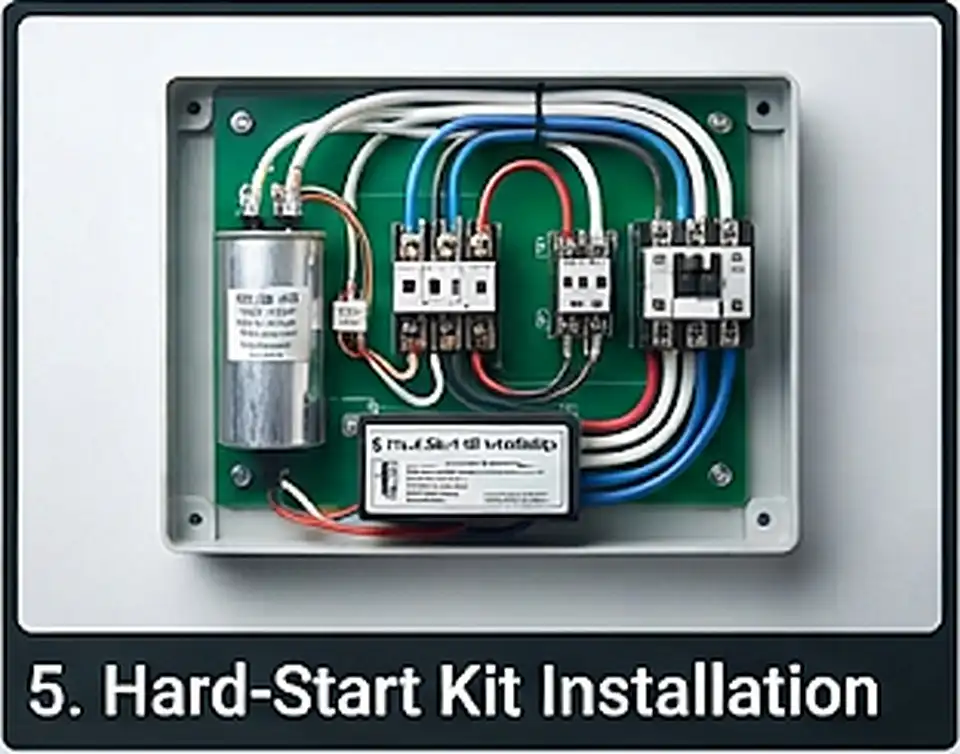
Many hard-start kits combine the capacitor and relay in one sealed unit with two wires. Those connect in parallel with the run capacitor, one lead to HERM and one to the common C terminal. Your next step is to photograph every wire before you disconnect anything.
88-106 Start Capacitor 220V Replacement: Steps and Safety Warnings
An 88-106 start capacitor 220v replacement takes about 20 minutes for someone trained to work on energized equipment. The part is simple. The danger comes from 240-volt supply power and stored charge. According to the NFPA 70E standard for electrical safety in the workplace, equipment must be placed in an electrically safe work condition before anyone touches conductors. That means verified off, not just switched off.
Outlet Sparks When Plugging Something In: Chattanooga Fixes
Safety Warnings Before You Start
| Hazard | What Can Happen | How to Prevent It |
|---|---|---|
| 240V supply power | Severe shock or death | Turn off breaker and pull outdoor disconnect |
| Stored capacitor charge | Shock, burns, arc flash | Discharge with resistor tool; verify 0V with meter |
| Vented electrolyte | Chemical burns, eye injury | Wear safety glasses and gloves |
| Hot compressor housing | Skin burns | Let the unit cool 15 to 20 minutes |
| Wrong part installed | Winding damage, relay failure | Match MFD exactly; voltage equal or higher |
Replacement Steps
- Shut off power at the indoor breaker and the outdoor disconnect.
- Verify zero voltage at the contactor with a meter you tested on a known live source.
- Discharge the capacitor using a 15,000-ohm, 2-watt resistor with insulated leads, held across the terminals for 5 to 10 seconds.
- Confirm 0 volts across the capacitor terminals.
- Photograph and label every wire.
- Remove the old capacitor from its bracket or strap.
- Check the label on the new part: 88-106 MFD, 220V or higher.
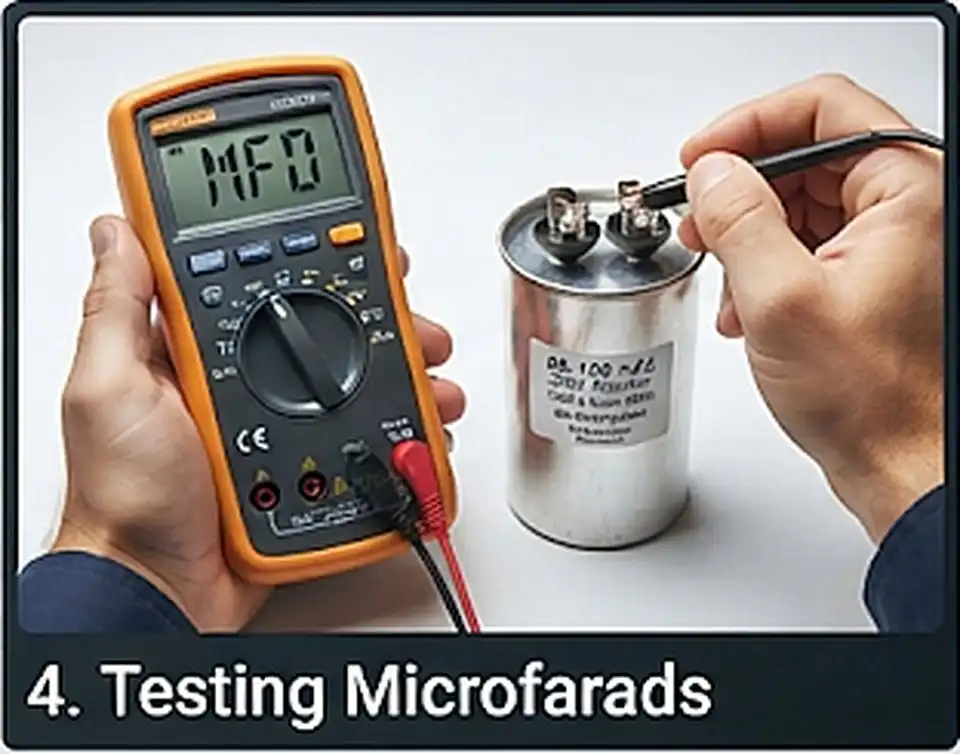
- Test the new capacitor with a meter set to capacitance. It should read inside the 88-106 range.
- Install the bleed resistor if the new part does not include one.
- Reconnect wires exactly as photographed. Push spade connectors fully on.
- Restore power and watch the first start. The compressor should start within 1 to 2 seconds without a long hum.
If the compressor still hums and trips, the capacitor was not the root cause. Stop restarting it. Repeated locked-rotor attempts overheat the windings and can trip the internal overload for an hour or more.
When to Call a Professional
- No meter or no experience verifying zero voltage
- Burned wires or melted terminals in the control box
- Breaker trips right after the new capacitor goes in
- Compressor stays hot and will not restart
We handle these failures through our electrical repair service when the damage reaches the wiring, terminals or disconnect. Order your replacement part before you open the panel so the unit is not left down overnight.
Symptoms of a Failed Start Capacitor
A failed start capacitor shows up as a starting problem, not a running problem. Once the motor runs, the start capacitor is out of the circuit. So a unit that runs fine but struggles to start points straight at the starting components.
| Symptom | What You Notice | Likely Cause |
|---|---|---|
| Humming, no start | Loud hum from the condenser, fan may spin | Open start capacitor or failed relay |
| Click, then off | Compressor tries, then shuts down | Thermal overload tripping from locked rotor |
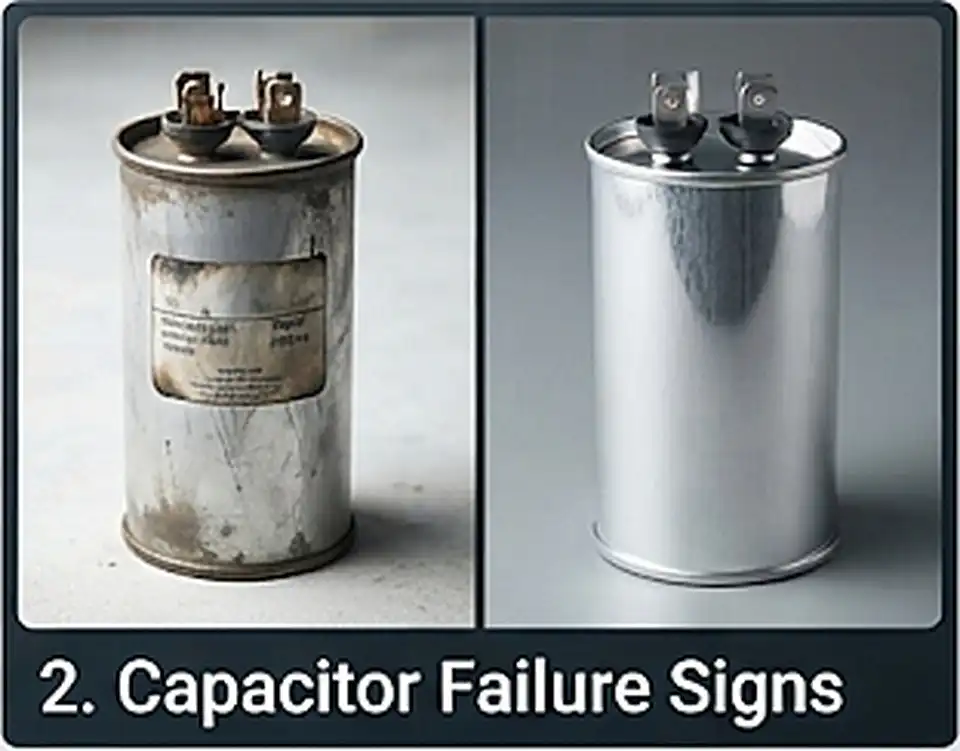
| Swollen or split case | Bulged top, cracked body | Overheated electrolytic capacitor |
| Oily residue | Wet or sticky film near the cap | Electrolyte leak from vented part |
| Burnt smell | Hot plastic odor near the unit | Capacitor or relay contacts overheated |
| Lights dim hard at startup | Dimming lasts 2+ seconds | Long locked-rotor time; weak start circuit |
| Breaker trips on start | Breaker trips during startup only | Locked rotor draw; possible capacitor fault |
Here is a common misconception: a capacitor that looks fine can still be dead. Electrolytic parts often fail open with no visible damage. A meter reading is the only reliable test.
Why Chattanooga Summers Wear These Parts Out
Chattanooga’s long, humid summers push AC units through more start cycles per day than milder climates. Each start heats the electrolyte. Units sitting in full sun on the west side of a house in East Brainerd, Hixson or Red Bank run even hotter. Many capacitors that last 10 years elsewhere fail in 5 to 7 here. Check yours in April, before the first 90-degree week.
If your breaker trips every time the compressor tries to start, the breaker itself may be worn from repeated high-current events. Our circuit breaker services test the breaker and its connections so a worn breaker does not hide a capacitor fault or the reverse. Note the exact symptom and how long the hum lasts before you call.
Troubleshooting Checklist for Start Capacitor Problems
Troubleshooting a start circuit means testing parts in order: power, run capacitor, start capacitor, relay, then compressor. Skipping steps leads to buying parts you did not need. Use this checklist after the power is off and verified.
Step-by-Step Checklist
- Check supply voltage at the disconnect. A 240V circuit should read about 228V to 252V.
- Measure voltage during startup. A drop below about 208V points to a supply problem.
- Test the run capacitor. Compare the reading to the label, usually within ±5 or ±6 percent.
- Test the start capacitor. It should read between 88 and 106 µF.
- Check the bleed resistor. A healthy 15,000-ohm resistor reads close to 15kΩ.
- Test relay contacts 1-2. They should show continuity with power off.
- Test the relay coil (2-5). An open coil means a failed relay.
- Check compressor windings. C-R plus C-S should equal R-S.
- Check for a grounded compressor. Any winding to the copper line or case should read open (infinite).
How a Chattanooga Electrician Protects Your Home & Wallet
Quick Results Table
| Test Result | What It Means | Next Move |
|---|---|---|
| Start cap reads 0 or open | Capacitor failed | Replace capacitor; check relay too |
| Start cap reads below 88 µF | Weakened capacitor | Replace capacitor |
| Relay contacts open with no power | Relay stuck open | Replace relay |
| Windings read correctly, still won’t start | Possible mechanical lock | Hard-start kit or compressor evaluation |
| Winding reads to ground | Grounded compressor | Do not restart; compressor replacement |
| Voltage sags below 208V | Supply or wiring issue | Have the circuit and panel checked |
The DOE’s guidance on maintaining your air conditioner notes that regular checks of coils, filters and controls keep efficiency high. Dirty condenser coils raise head pressure, which makes every start harder on the capacitor. Clean the coil with a garden hose before you blame the capacitor for a hard start.
Seasonal checks catch weak capacitors before a heat wave does. Our electrical maintenance visits include connection checks at the outdoor disconnect and panel, which are common failure points on high-load circuits. Book one in early spring so any weak parts get replaced before peak cooling season.
Repair vs. Replace: Chattanooga Cost Table
Start capacitor repairs cost far less than the compressor damage they prevent. The numbers below are typical ranges for the Chattanooga area as of late 2026. Your final price depends on the unit, its access and what the technician finds on site.
| Job | Part Cost | Typical Installed Range | When It Makes Sense |
|---|---|---|---|
| Start capacitor replacement only | $15 to $40 | $150 to $300 | Capacitor tests open or low |
| Start capacitor + potential relay | $40 to $90 | $200 to $400 | Relay contacts burnt or coil open |
| Hard-start kit (combo unit) | $30 to $80 | $175 to $400 | Aging compressor struggles in heat |
| Run capacitor replacement | $15 to $45 | $150 to $350 | Run cap below rated MFD |
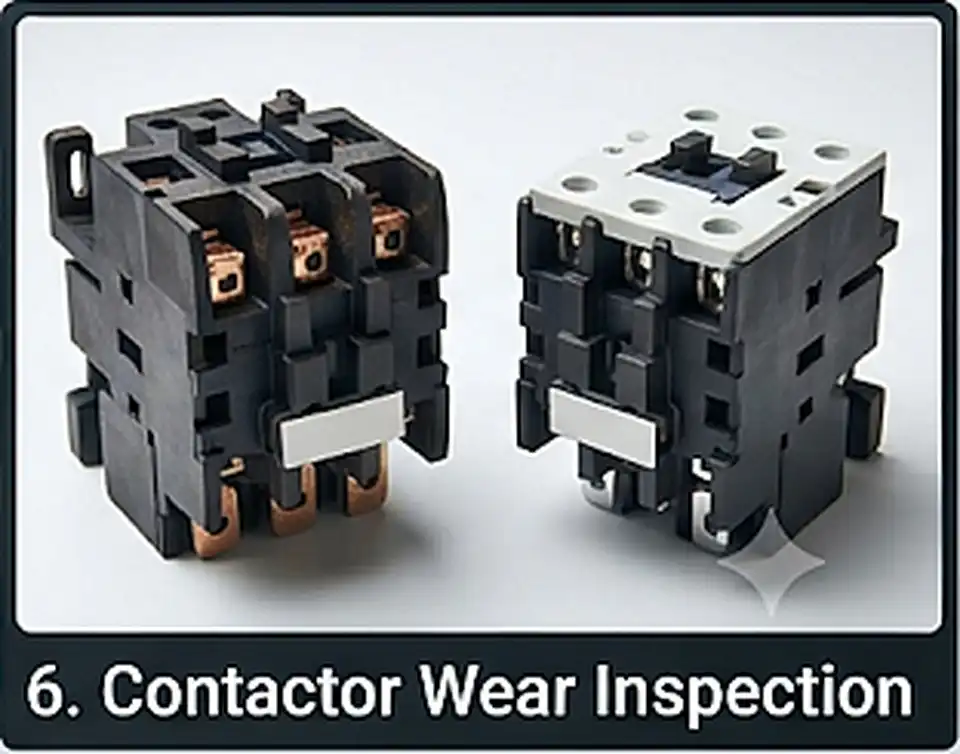
| Contactor replacement | $20 to $50 | $150 to $350 | Pitted contacts, chattering |
| Disconnect or whip replacement | $30 to $100 | $200 to $450 | Burned terminals, damaged conduit |
| Compressor replacement | $600 to $1,800 | $1,800 to $3,500+ | Grounded or shorted windings |
| Full condenser replacement | $2,000 to $4,500 | $4,000 to $8,000+ | Unit 12 to 15+ years old with major failure |
Repair or Replace Decision Rules
| Unit Age | Failure | Our Recommendation |
|---|---|---|
| Under 10 years | Start capacitor or relay | Repair. Low cost, long remaining life |
| 10 to 15 years | Start capacitor, compressor healthy | Repair and add a hard-start kit if starts are slow |
| 10 to 15 years | Compressor grounded | Replace the condenser; compare to system age |
| 15+ years, R-22 system | Any compressor failure | Replace. R-22 refrigerant is no longer produced |
Ask for quotes that list the part, labor, diagnostic fee and after-hours charge separately. A low price that skips a voltage check is not a like-for-like quote. If the outdoor unit has burned wiring at the disconnect, an electrical inspection can confirm the circuit, breaker and conductors are sized correctly for the equipment. Request a written breakdown before approving any work.
Supply House 88-106 Start Capacitor 220V Chattanooga TN: Local Sourcing Options
Finding a supply house 88-106 start capacitor 220v Chattanooga TN option depends on whether you hold a trade account. Many HVAC distributors sell only to licensed contractors. Baker Distributing, for example, shows Copeland pricing only after an account login. Homeowners searching “88-106 start capacitor 220v near me” usually land on four options.
| Source Type | Who Can Buy | Typical Price | Speed | Notes |
|---|---|---|---|---|
| HVAC wholesale distributors | Licensed contractors (account) | Trade pricing | Same day | OEM parts like Copeland; staff can cross-reference |
| Electrical supply houses | Mostly trade, some walk-in | $20 to $45 | Same day | Stock varies; call first |
| Big-box home stores | Anyone | $20 to $40 | Same day if stocked | Often carry run caps, fewer start caps |
| Online retailers (SupplyHouse.com, Walmart marketplace) | Anyone | $15 to $35 | 2 to 5 days | Good for exact specs; plan ahead |
| Appliance and motor repair shops | Anyone | $20 to $50 | Same day | Strong option for well pump and shop motors |
Tips for Buying the Right Part Locally
- Bring the old capacitor or a clear photo of its label.
- Read MFD and voltage aloud to the counter staff.
- Ask for a bleed resistor if the new part does not include one.
- Buy the relay too if the old one shows burnt or pitted contacts.
- Keep the receipt for warranty claims, such as TEMCo’s 5-year coverage.
On recent service calls across Chattanooga, the biggest delay is not the part. It is the hour lost after someone buys a 125V capacitor by mistake. The voltage line on the label matters as much as the MFD line.
Homeowners across Chattanooga and Hamilton County often keep a spare start capacitor on hand once they know the rating. It is a cheap insurance policy during a July heat wave. Write the rating on a piece of tape inside your outdoor unit’s service panel today.
When a Start Capacitor Problem Is Really an Electrical Problem
A start capacitor fails faster when the electrical supply is weak. Low voltage makes the compressor draw more current for longer. That stretches the time the capacitor stays in the circuit, which heats the electrolyte and shortens its life.
| Electrical Issue | Effect on Start Capacitor | Warning Sign |
|---|---|---|
| Undersized circuit | Longer locked-rotor time | Lights dim for 2+ seconds at startup |
| Loose neutral or lug in panel | Voltage swings during start | Flickering in other rooms |
| Corroded disconnect terminals | Voltage drop at the unit | Green or white corrosion at the disconnect |
| Shared circuit | Other loads reduce available voltage | Breaker trips when another appliance runs |
| Aging service entrance | Whole-house voltage sag | Every large motor starts slowly |
Well pumps are a strong example. A 1 HP well pump on a long wire run in rural Bradley County can see a big voltage drop at startup. The capacitor works harder on every start. Homeowners near Cleveland, TN with well systems often replace start capacitors on the pump control box every few years for this reason.
Fosters Electric Chattanooga TN: Protect Your Home Wiring
Equipment like well pumps and large compressors runs best on their own circuit. A dedicated appliance circuit removes shared loads and keeps startup voltage stable. Measure the voltage at the equipment during startup, and if it drops more than about 10 percent, have the circuit evaluated.
Safety Upgrades That Protect Motor Equipment
- Whole-home surge protection guards capacitors and relays from lightning spikes during spring storms.
- Correctly sized disconnects at outdoor units prevent heat buildup at terminals.
- Tightened panel lugs reduce voltage drop on 240V circuits.
- Replaced corroded whips stop moisture from reaching connections.
Our electrical safety upgrades target these weak points on homes with aging outdoor equipment. Walk outside and look at your AC disconnect for rust, cracks or missing covers this week.
Expert Answers to Common Questions
Can I use a 330V capacitor in place of a 220V one?
Yes. A higher voltage rating is safe as long as the MFD range matches at 88-106. The Rheem 43-17075-04 and the TEMCo 330V model both work in a 220V start circuit.
Can I use an 86-103 MFD capacitor instead of 88-106?
It is close, but it is not an exact match. Start capacitors are sized to the motor’s start winding. Stick with 88-106 MFD unless the equipment manufacturer approves a substitute.
How long does a start capacitor last?
Most last 5 to 10 years. Units with frequent short cycling, dirty coils or low voltage fail sooner. Chattanooga’s long cooling season pushes many toward the shorter end.
Do I need a bleed resistor?
Yes, if your relay or capacitor does not include one. A 15,000-ohm, 2-watt resistor across the terminals drains stored charge. It protects relay contacts and reduces shock risk.
Is a start capacitor the same as a hard-start kit?
No. A hard-start kit combines a start capacitor with a relay or timing device in one unit. A standalone capacitor needs a separate relay to work safely.
Why does my AC hum but not start, even after a new capacitor?
The run capacitor, contactor, relay or compressor may be the real cause. Low supply voltage can also stop a compressor from starting. Test each part in order instead of replacing more capacitors.
What should I do if the unit hums and the breaker trips at night?
Turn the system off at the thermostat and the breaker. Repeated starts can overheat the compressor. Our emergency electrical service page explains what to do when an electrical fault cannot wait until morning, though after-hours availability depends on your location.
Your Next Step
A supply house 88-106 start capacitor 220v is a small part with a big job. Match the MFD exactly, use equal or higher voltage, pair it with the right relay and always discharge before touching. If the compressor still hums after a correct swap, the problem sits elsewhere in the starting circuit or the electrical supply. That is when testing beats guessing. Pull your outdoor unit’s panel cover this weekend, with the power verified off, and photograph the capacitor label so you know exactly what to order before summer’s first heat wave.